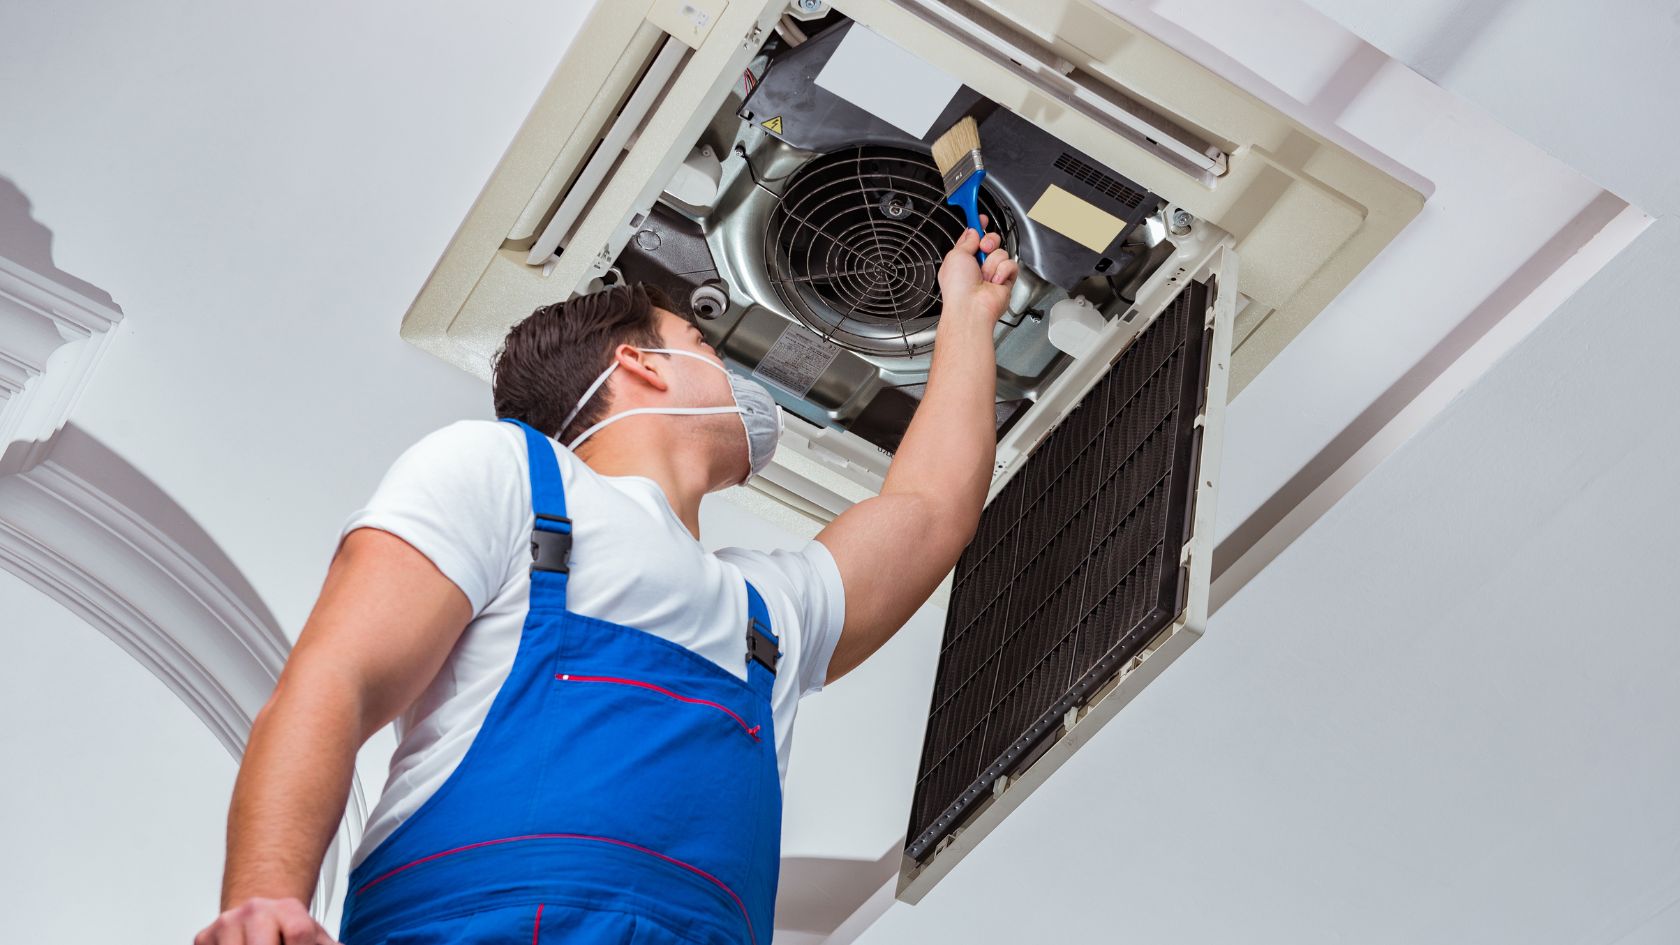
Before calling for emergency HVAC repair, check these five essential items: First, verify your thermostat settings and batteries. Second, inspect your circuit breakers for any tripped switches. Third, examine your air filters for clogs or dirt that could restrict airflow. Fourth, clear any obstructions around your outdoor unit, including vegetation or debris. Finally, check your condensate drain line for blockages that might cause water backups. By addressing these common issues yourself, you can potentially avoid unnecessary service calls and save both time and money. Exploring these simple troubleshooting steps can often resolve minor HVAC problems without professional intervention.
Key Takeaways
- Check thermostat settings, including mode, temperature, and battery status.
- Inspect and reset circuit breakers in both indoor and outdoor electrical panels.
- Examine air filters for blockages and replace if dirty or clogged.
- Clear debris and obstructions from around the outdoor unit to ensure proper airflow.
- Verify the condensate drain line is clear and functioning correctly to prevent water backups.
Thermostat Settings
Check your thermostat settings before calling for emergency HVAC repair. Confirm the thermostat is set to “heat” or “cool” mode, depending on your needs. Verify that the temperature setting is appropriate for the current season. If your system isn’t responding, try adjusting the temperature by a few degrees to trigger it.
Inspect the thermostat’s display for any error codes or low battery warnings. Replace batteries if necessary, as weak batteries can cause system malfunctions. Clean the thermostat’s interior gently with a soft brush to remove dust that may interfere with its operation.
Verify that the thermostat is level on the wall, as an uneven installation can affect its accuracy. Check for any obstructions near the thermostat, such as lamps or electronics, which can cause temperature discrepancies. If you suspect thermostat calibration issues, consult your user manual for recalibration instructions.
For programmable thermostats, review your scheduled settings to confirm they align with your current needs. If you’ve recently experienced a power outage, reset the thermostat’s clock and programmed schedules. By thoroughly checking these thermostat settings, you can often resolve HVAC issues without requiring emergency repair services, saving time and money while confirming your safety and comfort.
Circuit Breakers
The circuit breakers are a crucial component to inspect before calling for emergency HVAC repair. These safety devices protect your electrical system from circuit overloads and can sometimes be the root cause of HVAC issues. Locate your home’s electrical panel, typically found in the basement, garage, or utility room. Open the panel cover and look for any breakers that have tripped to the “off” position.
If you find a tripped breaker, attempt to reset it by firmly pushing it to the “off” position before switching it back to “on.” Listen for a clicking sound, indicating a successful reset. If the breaker immediately trips again, don’t attempt further resets, as this could indicate a more serious electrical problem.
For HVAC-specific breakers, check both the indoor and outdoor units. They may have separate breakers, so verify all are in the “on” position. If you’re unsure which breakers control your HVAC system, consult your home’s electrical diagram or label them for future reference. Remember, safety is paramount when dealing with electrical components. If you’re uncomfortable or uncertain about handling breakers, it’s best to call a professional.
Air Filters
After examining the circuit breakers, your next step should be inspecting the air filters. Clogged or dirty filters can greatly impair your HVAC system’s performance and lead to emergency situations. Regularly checking and replacing air filters is essential for maintaining ideal airflow and preventing system overload.
When inspecting your air filters, follow these steps:
- Locate the filter housing, typically found near the return air duct or in the blower compartment.
- Remove the filter carefully, noting its size and orientation for proper replacement.
- Hold the filter up to a light source; if you can’t see through it, it’s time for a replacement.
- Clean the filter housing area to remove any dust or debris before inserting a new filter.
There are various air filter types available, including fiberglass, pleated, and electrostatic options. Choose the appropriate type based on your system’s specifications and your indoor air quality needs. Most filters should be replaced every 1-3 months, depending on usage and environmental factors. Regular filter replacement not only improves air quality but also prevents strain on your HVAC system, potentially averting emergency repairs and ensuring safe, efficient operation.
Outdoor Unit Obstructions
Moving from indoor components to external factors, outdoor unit obstructions can severely impact your HVAC system’s performance. Guarantee your outdoor unit’s accessibility by regularly inspecting the area around it. Remove any debris, leaves, or vegetation that may have accumulated near the unit. Trim back shrubs, bushes, or tree branches that are within 2-3 feet of the unit to maintain proper airflow.
Environmental factors like snow, ice, or flooding can also obstruct your outdoor unit. During winter, clear snow and ice buildup from the unit and its surrounding area. In flood-prone regions, consider elevating your unit on a platform to prevent water damage. Check for any signs of pest infestations, such as nests or droppings, which can interfere with the unit’s operation.
Ascertain that lawn furniture, toys, or other outdoor items aren’t placed too close to the unit. Maintain a clear space of at least 2 feet on all sides to allow for adequate air circulation. If you notice any unusual noises, vibrations, or reduced cooling efficiency, inspect the outdoor unit for potential obstructions before calling for emergency repairs. By addressing these issues promptly, you can often avoid more serious HVAC problems and maintain system efficiency.
Condensate Drain Line
Within your HVAC system, the condensate drain line plays an essential role in removing excess moisture. This line can become clogged with algae, mold, or debris, leading to water backups and potential damage to your home. Before calling for emergency repair, check your condensate drain line for proper function.
To guarantee your condensate drain line is working correctly:
- Locate the drain line, typically a PVC pipe near your indoor unit
- Inspect the line for visible clogs or damage
- Pour a cup of vinegar down the line to clear minor blockages
- Check if water flows freely through the line’s outdoor exit point
If you notice standing water around your indoor unit or hear gurgling sounds, your condensate drain may be blocked. In some systems, a condensate pump helps move water through the line. Verify that this pump is functioning properly if your system has one.
Regular drain maintenance can prevent emergency situations. Flush the line with vinegar monthly and clean the drain pan. If you’re uncomfortable performing these tasks or suspect a severe blockage, contact a professional HVAC technician. They can safely clear the line and guarantee your system operates efficiently, reducing the risk of water damage and mold growth in your home.
Frequently Asked Questions
How Often Should I Schedule Professional HVAC Maintenance?
You should schedule professional HVAC maintenance twice a year, typically in spring and fall. Regular seasonal maintenance offers numerous benefits, including improved efficiency, extended system lifespan, and early detection of potential safety issues. Don’t skip these essential check-ups.
What’s the Average Lifespan of an HVAC System?
Your HVAC system’s lifespan typically ranges from 15 to 20 years. HVAC lifespan factors include maintenance, usage, and climate. Watch for signs of aging like decreased efficiency, frequent repairs, and uneven heating/cooling. Regular professional inspections can help extend its life.
Can I Repair My HVAC System Myself?
You can handle some DIY repairs for common HVAC issues, like changing filters or cleaning coils. However, for complex problems or safety concerns, it’s best to call a professional technician to avoid potential hazards or system damage.
How Can I Improve My HVAC System’s Energy Efficiency?
You’ll slash your energy bills astronomically with these energy saving tips: upgrade to a smart thermostat, seal ductwork, change filters regularly, and install a high-efficiency system. These system upgrades guarantee safe, peak performance while maximizing your HVAC’s energy efficiency.
What Are Signs That My HVAC System Needs Replacement?
Your HVAC system may need replacement if it’s over 15 years old (system age), making unusual noises, or frequently breaking down. You’ll notice reduced efficiency, uneven heating/cooling, and higher energy bills. Don’t ignore these signs for your safety.
Conclusion
You’ve just gone through the five essential checks for your HVAC system. Coincidentally, these simple steps can often resolve issues without professional help. If you’ve verified your thermostat settings, checked circuit breakers, cleaned air filters, cleared outdoor unit obstructions, and inspected the condensate drain line, you’ve covered the basics. Should problems persist after these checks, it’s time to call for emergency HVAC repair. Remember, regular maintenance can prevent many common HVAC issues.


